Tarkus/fr
Tarkus (タルカス, Tarukasu) est un antagoniste mineur figurant dans la première partie de JoJo's Bizarre Adventure, Phantom Blood.
Avec son compagnon Bruford, Tarkus le "Chevalier Noir" était un chevalier dans la Grande-Bretagne du 16ème siècle au service de Mary Stuart. Après une guerre, ils ont été exécutés par la reine Elizabeth I. Ressuscité en tant que Zombie par Dio Brando, il est désormais un monstre assoiffé de sang et combat le Groupe Joestar.
Apparence
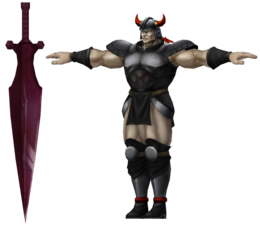
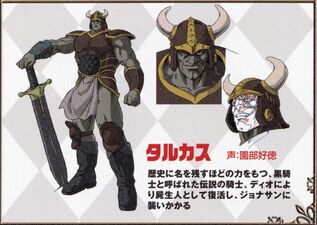
Tarkus est un homme gigantesque et à la carrure massive, étant couvert de muscle. Il a les cheveux en batailles. Tarkus porte une lourde armure avec un plastron, des épaulières, des protège-tibias et un pagne, mais il laisse ses bras et ses jambes à découvert. Tarkus possède aussi un casque orné de corne et d'une crête en métal.
Color Schemes
Personnalité
Pouvoir et Compétences
Physical Ability
As a trained warrior and one of the only five knights to succeed in the 77 Rings Challenge, Tarkus possesses an incredible amount of physical strength and endurance. Even while alive as a human, his neck could withstand several attacks and break the axes of executioners before being cut.[1]

After being resurrected as a zombie, his brutality and power increases even more, making him capable of squashing people with his bare hands.[2] Tarkus initially demonstrates his strength by lifting a massive portion of the ground that Jonathan was standing on from beneath him, while only using a finger. He then shatters the giant boulder with the same finger.[3]
Later, he throws himself onto a stone wall in order to trap Jonathan in the Lair of the Two-Headed Dragon. Whereas Zeppeli states that Tarkus should be unable to move because his bones would have shattered from the collision, Tarkus manages to climb the building and still be in a state to fight Jonathan and Zeppeli afterwards.[4] A kick from him is strong enough to shatter the bone of Jonathan's upper arm.[5]
Chain Techniques
Tarkus is an expert at the Chain Neck Deathmatch, having killed forty-eight warriors in death matches.[5] He uses his surroundings to his advantage, such as ensnaring his opponents with a chain to rip their bodies apart.
- Hell Heaven Snake Kill (
天地来蛇殺 , Heru Hebun Sunē Kiru, lit. "Heaven and Earth coming Snake kill"): Tarkus' signature technique. He jumps above his opponent while he manipulates his chain to strike them from below, cornering them from both sides. The chain wraps around his opponent and Tarkus pulls on it with enough force to tear a body in half.
Swordsmanship
When Tarkus was a knight of Mary Stuart, he was described as a hero who could cut rocks like butter with his sword. Proving the stories of his past, Tarkus strikes the ground with his sword and slices off a large cliff, causing the Joestar Group to fall.[2]
Histoire
Passé

Born in the 16th century, Tarkus was a member of the Tudor Dynasty and a retainer of Mary Stuart. After losing his relatives in previous wars, the young Tarkus was brought up as Mary Stuart's knight and trained his body for that sole purpose. At the same time, Tarkus became attached to Mary. Alongside his fellow retainer Bruford, Tarkus passed the Challenge of the 77 Rings in 1563, being the only two out of five in history to succeed it.[6]

Eventually, when Mary was imprisoned by her political rival Queen Elizabeth, Bruford and Tarkus fought the queen's army until she offered Mary's release in return for their surrender. But on the day they of their execution as enemies of the Crown, Bruford and Tarkus learned from their executioner that Mary was already killed before they gave into the queen's demands. Tarkus was livid to hear that Elizabeth deceived them into giving up their lives for nothing and cursed her in his dying breath, rumors saying that his neck became so rigid from anger that several axes broke before he was beheaded. The story of Bruford and Tarkus was passed down and became famous in England[1]
Phantom Blood

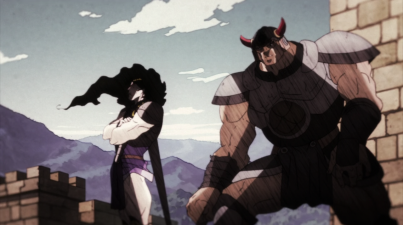
After taking residence in Windknight's Lot following his transition into a vampire, Dio resurrects Bruford and Tarkus as his Zombie enforcers to exploit their hatred against the world. He first summons them to kill Jonathan, Will Anthonio Zeppeli, and Robert E. O. Speedwagon. While Bruford fights with Jonathan, Tarkus fights Zeppeli and Speedwagon. But following Bruford's defeat, Tarkus desecrates his remains while saying that Bruford disappointed him before assaulting the heroes. Tarkus violently kicks the remains of Bruford's armor, turning its pieces into a dangerous hail of metal and Zeppeli is wounded. He almost catches Poco but Jonathan grabs him just in time. Tarkus slices the ground with his sword, cutting the cliff and isolating the heroes near the knights' former training grounds. He then catches two men who stumbled upon the fight and squeezes the blood out of them to drink it. He rushes to attack again, but Jonathan and his friends attempt to escape Tarkus on a hang-glider created from Ripple-induced leaves. Tarkus jumps and crashes the glider. Though assumed indisposed, Tarkus' durability convinces Zeppeli that the zombie is a loose end they cannot ignore.

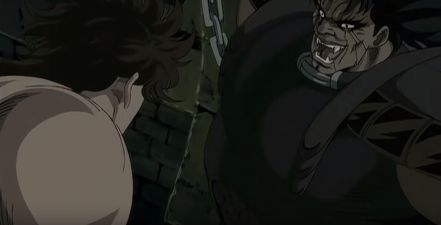
Jonathan enters the building to find a place where Poco can hide safely, finding himself in the Chamber of the Two-Headed Dragon where Tarkus engages Jonathan in a Chain Neck Deathmatch. After Poco nearly gets himself killed to get the others in, Zeppeli proceeds to fight Tarkus before the zombie binds him with the chain which is used to rip the Ripple master's torso from his legs while snapping Jonathan's neck. Fortunately, Zeppeli transfers all his remaining Ripple into Jonathan's body. Empowered and healed by the sudden surge of Ripple, Jonathan shatters his collar then easily kills Tarkus with a Ripple-infused double punch to the face.
Chapters / Episodes
- Chapter 26: Tarkus and the Dark Knight Bruford, Part 1
- Chapter 27: Tarkus and the Dark Knight Bruford, Part 2
- Chapter 28: Tarkus and the Dark Knight Bruford, Part 3
- Chapter 29: Tarkus and the Dark Knight Bruford, Part 4
- Chapter 30: Sleep as a Hero
- Chapter 31: The Knights' Ruins
- Chapter 32: The Medieval Knights' Training Ground for Murder
- Chapter 33: Pluck for Tomorrow and the Successor, Part 1
- Chapter 34: Pluck for Tomorrow and the Successor, Part 2
- Chapter 35: Pluck for Tomorrow and the Successor, Part 3 (Death)
- Chapter 38: The Three from a Faraway Land, Part 3 (Mentioned)
- JoJo's Bizarre Adventure Episode 5: The Dark Knights
- JoJo's Bizarre Adventure Episode 6: Pluck for Tomorrow
- JoJo's Bizarre Adventure Episode 7: The Successor (Death)
Quotes
- “Don't make me laugh! [Broken] bones? I'll make mincemeat out of you!”—Tarkus, Chapter 30: Sleep as a Hero
- “I'm an elite at slaughter! I create death and destruction by force!”—Tarkus, Chapter 31: The Knights' Ruins
Video Games
Phantom Blood (PS2 Game)

- 77 Rings Knights Mode: Living Corpses
Diamond Records (Android/iOS)


-
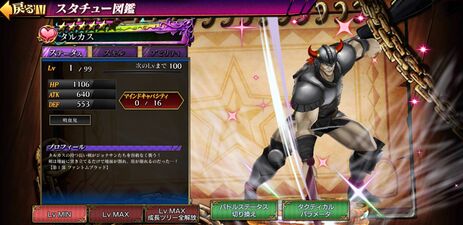
 4-star
(Fighting Spirit) -
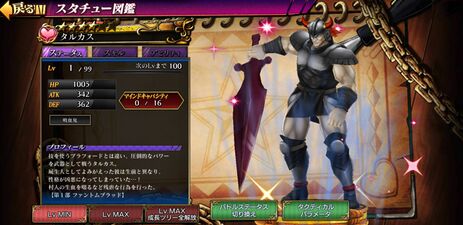 Max LVL Stats: 10050 HP/3417 ATK/3618 DEF
Max LVL Tree Stats: 19950 HP/6567 ATK/6768 DEF -
 5-star
(Solitary) -
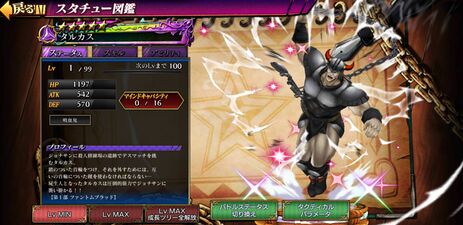 Max LVL Stats: 11970 HP/5415 ATK/5700 DEF
Max LVL Tree Stats: 28770 HP/10215 ATK/10500 DEF -
 5-star
(Fighting Spirit) -
 Max LVL Stats: 11058 HP/6402 ATK/5529 DEF
Max LVL Tree Stats: 20658 HP/14802 ATK/10329 DEF -
 6-star
(Fighting Spirit) -
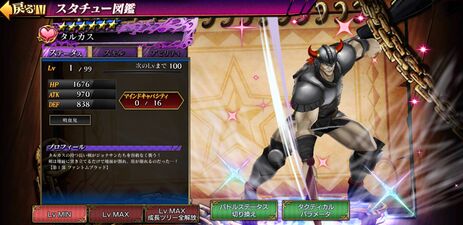 Max LVL Stats: 16758 HP/9702 ATK/8379 DEF
Max LVL Tree Stats: 28458 HP/22302 ATK/20079 DEF


JoJo's Pitter-Patter Pop! (Android/iOS)


Cooldown: 60
Cooldown: 60
Cooldown: 55
Cooldown: 55
Cooldown: 50
Gallery


-
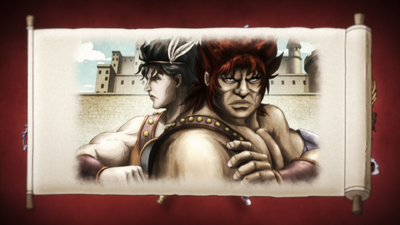 Tarkus and Bruford in the past
 -
 Tarkus and Bruford accept their fate
 -
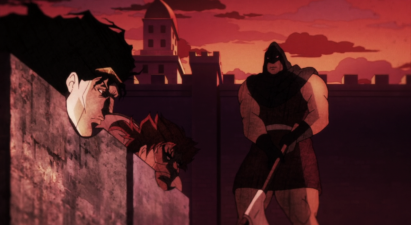 Tarkus and Bruford about to be executed
 -
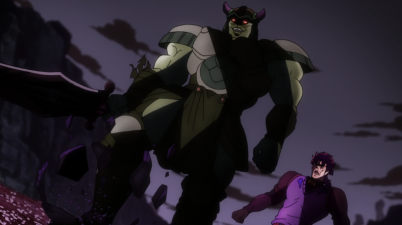
Tarkus and Bruford appear before Jonathan
-
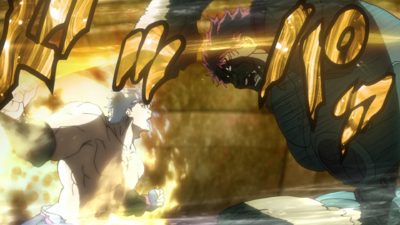
 Tarkus destroys Bruford's armor after his death
 -
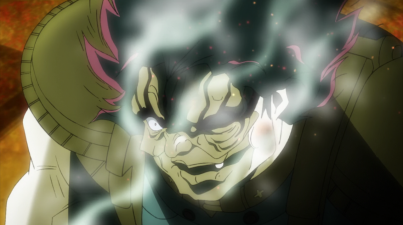
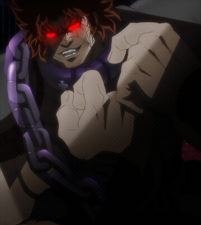 Tarkus in the chamber of the Two-Headed Dragon
 -
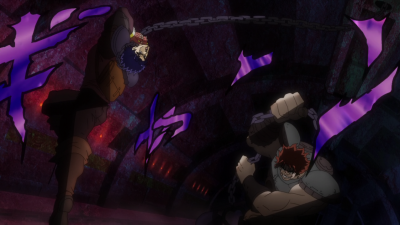 Tarkus traps Jonathan in the Chamber of the Two-Headed Dragon
 -
 Tarkus against Jonathan
 -
 Tarkus is killed by Jonathan's Ripple
 -
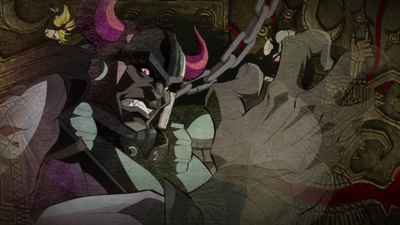 Tarkus alongside Bruford in the ending credits
 -
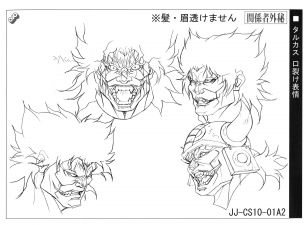 Reference sheet: Head
 -
 Reference sheet: Body


.jpg)
.jpg)
-
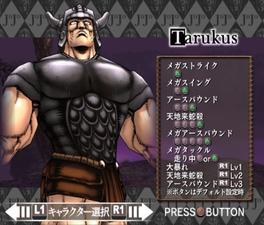 Tarkus in the Phantom Blood PS2 game
 -
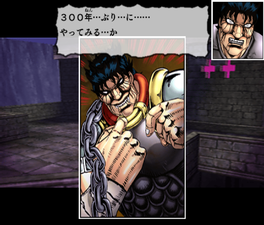 Preparing to fight Jonathan in the Chain Neck Deathmatch
 -
4-star statue, Diamond Records
-
5-star statue (Fighting Spirit), DR
-
6-star statue, DR
-
5-star statue (Solitary), DR
-
 Tarkus' model in DR


-
 A Young Tarkus With Bruford (Part 3 OVA Timelines)
 -
 Tarkus attacking (Part 3 OVA Timelines)
 -
 Tarkus and Jonathan 2004 Phantom Blood Movie Pilot
 -
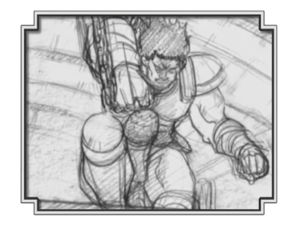
 Concept Art from the Phantom Blood Movie
 -
Tarkus' Body perspective from the Phantom Blood Movie
-
Tarkus' heads of perspective from the Phantom Blood Movie


-
 Chara Heroes; Part 1 Vol.1
 -
-
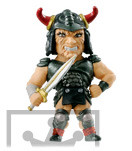
Tarkus figurine from the Super Figure Revolution series
-
Super Figure Revolution (Neo)
-
Super Figure Revolution (Bronze)


References
- ↑ 1.0 1.1 Chapter 27: Tarkus and the Dark Knight Bruford (2)
- ↑ 2.0 2.1 Chapter 31: The Knights' Ruins
- ↑ Chapter 26: Tarkus and the Dark Knight Bruford (1)
- ↑ Chapter 32: The Medieval Knights' Training Ground for Murder
- ↑ 5.0 5.1 Chapter 33: Pluck for Tomorrow and the Successor (1)
- ↑ Chapter 28: Tarkus and the Dark Knight Bruford (3), p. 11
<languages/>