Ikuro Hashizawa/Gallery: Difference between revisions
Jump to navigation
Jump to search
Character Trailer
Content deleted Content added
No edit summary Tags: Mobile edit Mobile web edit Advanced mobile edit |
|||
| Line 61: | Line 61: | ||
BaohFightsWalken.png|Fighting [[Walken]] |
BaohFightsWalken.png|Fighting [[Walken]] |
||
SaberOff.JPG|Baoh uses Saber Off to knock Walken out |
SaberOff.JPG|Baoh uses Saber Off to knock Walken out |
||
SumireDead.png|Fails to save Sumire |
SumireDead.png|Fails to save Sumire from getting shot |
||
BaohHealingSumire.png|Healing Sumire with his blood |
BaohHealingSumire.png|Healing Sumire with his blood |
||
SumireAlive.png|Holding healthy Sumire |
SumireAlive.png|Holding healthy Sumire |
||
Latest revision as of 10:27, 22 March 2025
An image gallery of Ikuro Hashizawa, featuring art and screenshots across various media he is featured in.
Illustrations
VariousVolume IllustrationsOVA
-
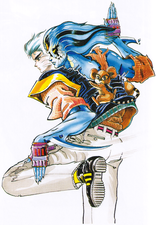
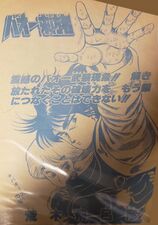
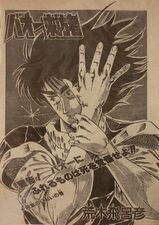
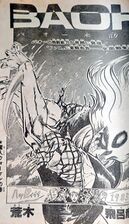
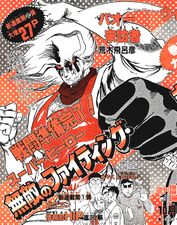 WSJ 1984 Issue #45 Next Issue Illustration
 -
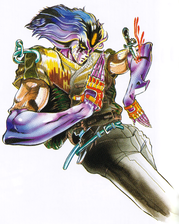
 WSJ 1984 Issue #45 Next Issue Illustration
 -
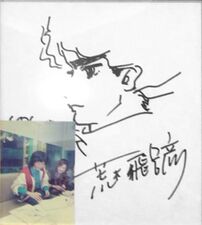
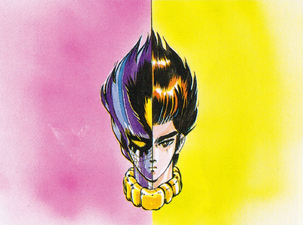
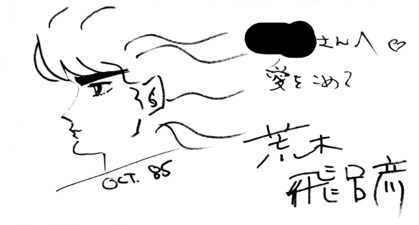 Autograph Sketch, October 1985
 -
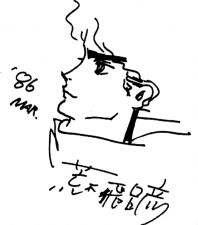
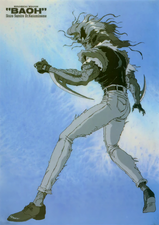
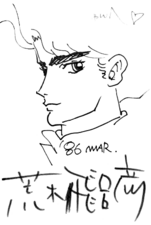 Autograph Sketch, March 1986
 -
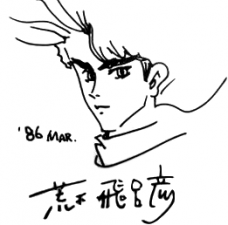
 Autograph Sketch
 -
 Fanroad Magazine Sketch
 -
 Fanroad Magazine Sketch
 -
 Fanroad Magazine Cover Illustration
 -
 Fanroad Magazine Inside Illustration
 -
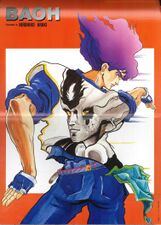
 VHS/Pamphlet Cover Art
 -
 Baoh the Visitor VHS Postcard 1 Illustration
 -
 Baoh the Visitor VHS Postcard 2 Illustration
 -
 Baoh the Visitor VHS Postcard 3 Illustration
 -
 Soundtrack Cover Art
 -
 DVD release Cover Art
 -
.jpg)
_Baoh.png)


-
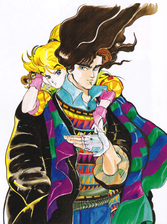
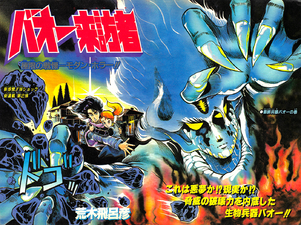
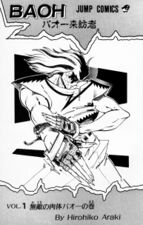
 Baoh Volume 1 Illustration
 -
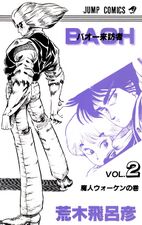
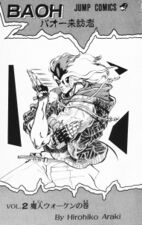
 Baoh Volume 2 Illustration
 -
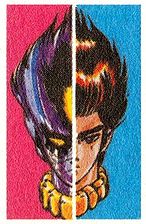
 Baoh the Visitor Spine Illustration
 -
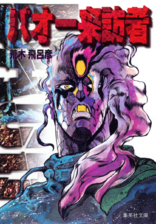
Bunkoban Volume Illustration


-
 Theatrical poster
 -
 Toho Cinemas Pamphlet
 -
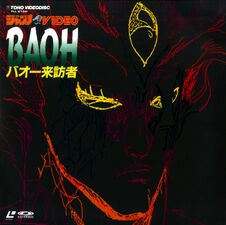 Laserdisc cover art
 -
 Laserdisc poster


Baoh the Visitor
MangaOVA
StoryChapter CoversWeekly Shonen JumpVolume CoversSketches
-
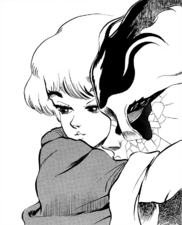
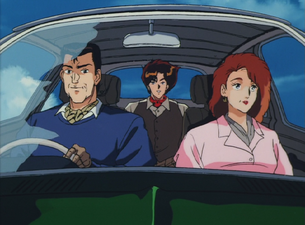
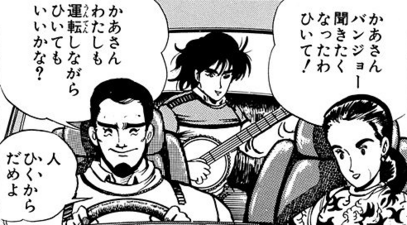 Ikuro with his family
 -
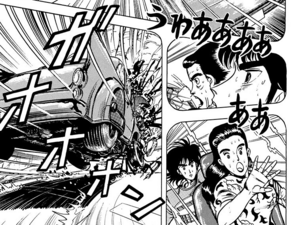 Crashing into another car
 -
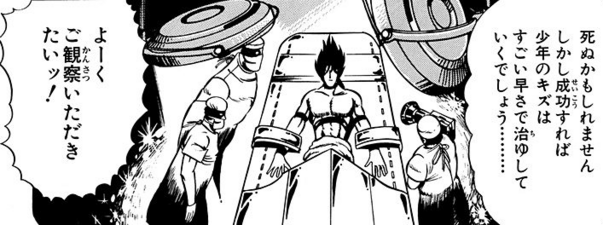 Injected with the Baoh parasite by Dr. Kasuminome
 -
 Freed by Sumire
 -
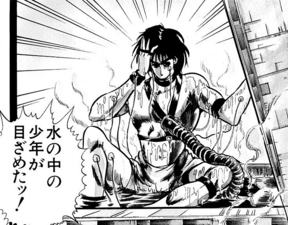
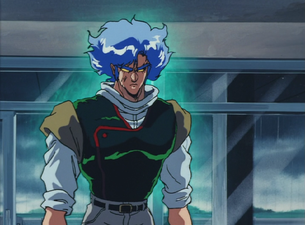
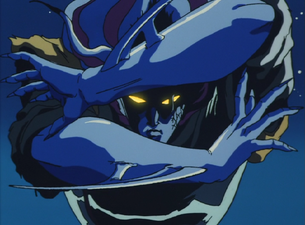
 Reawakens after being killed by 22nd Man
 -
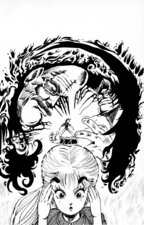
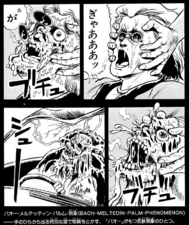 Meltedin Palm Phenomenon
 -
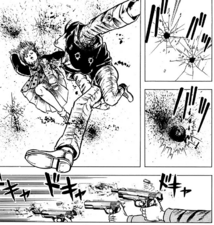 Ikuro and Sumire getting shot by Dress agents
 -
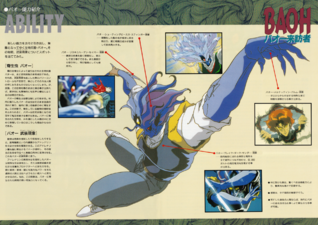
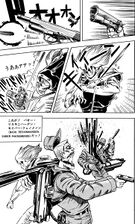
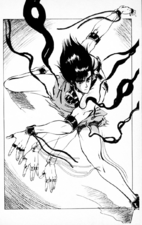
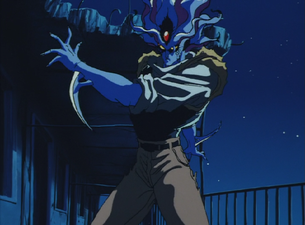
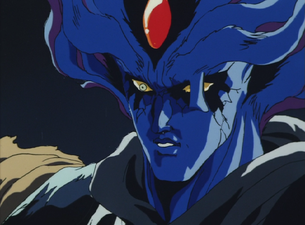
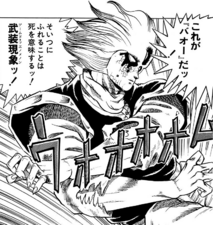 First transformation into Baoh
 -
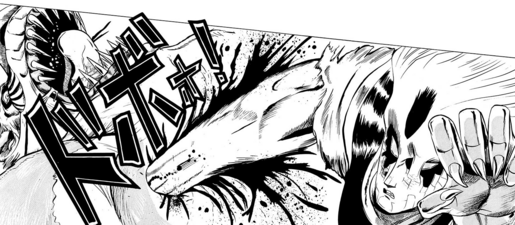
 Reskiniharden Saber Phenomenon
 -
 Killing Martin
 -
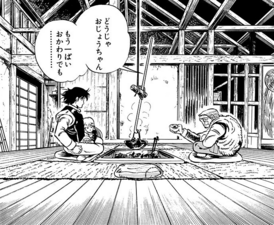 Staying at Rokusuke's house
 -
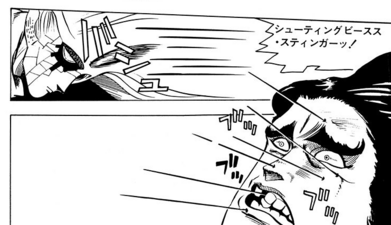 Shooting Bees-Stinger Phenomenon
 -
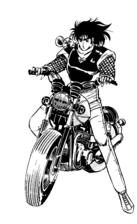
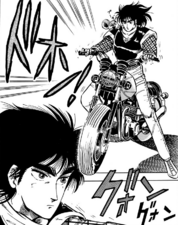 Taking Rokusuke's motorcycle to save Sumire
 -
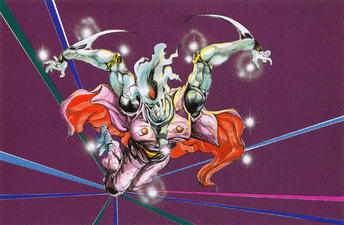
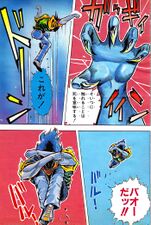
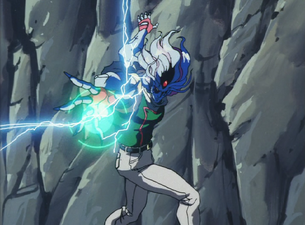
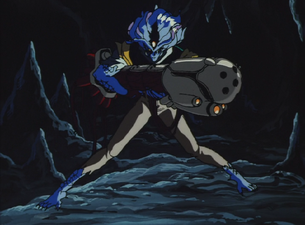
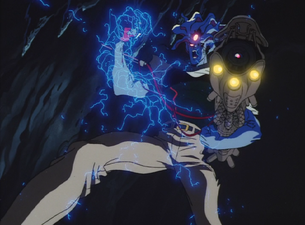
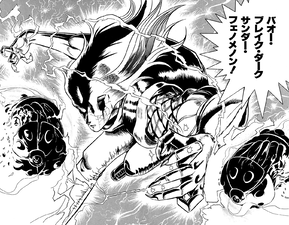 Break Dark Thunder Phenomenon
 -
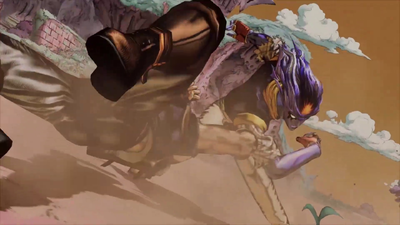
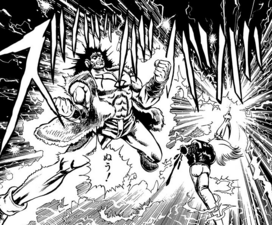 Fighting Walken
 -
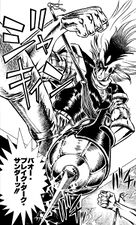
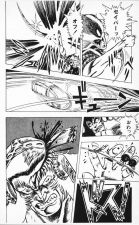 Baoh uses Saber Off to knock Walken out
 -
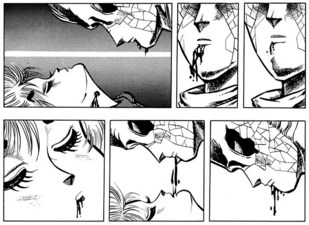
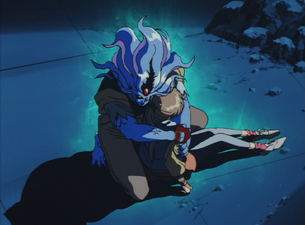
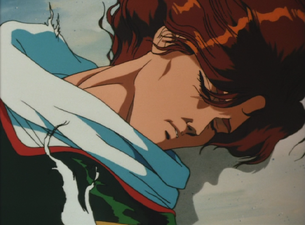
 Fails to save Sumire from getting shot
 -
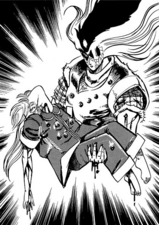
 Healing Sumire with his blood
 -
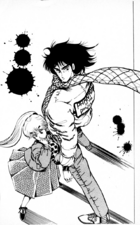
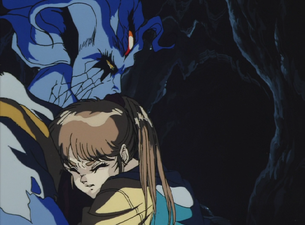
 Holding healthy Sumire
 -
 Using a laser to kill Walken
 -
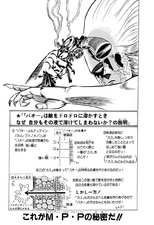
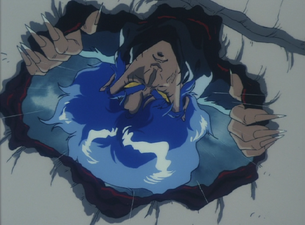
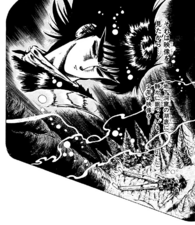 Sleeping at the bottom of the sea


VolumeMagazine
-
 Baoh Chapter 1 Cover A
 -
 Baoh Chapter 1 Cover B
 -
 Baoh Chapter 2 Cover
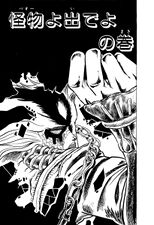
 -
 Baoh Chapter 3 Cover
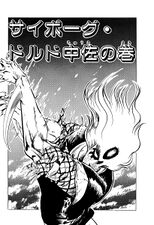
 -
 Baoh Chapter 5 Cover
 -
 Baoh Chapter 7 Cover
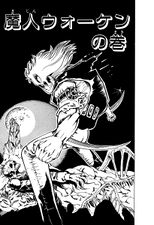
 -
 Baoh Chapter 8 Cover
 -
 Baoh Chapter 9 Cover


-
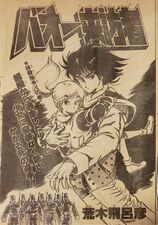 Baoh WSJ Chapter 2 Cover
 -
 Baoh WSJ Chapter 3 Cover
 -
 Baoh WSJ Chapter 5 Cover
 -
 Baoh WSJ Chapter 6 Cover
 -
 Baoh WSJ Chapter 7 Cover
 -
 Baoh WSJ Chapter 11 Cover
 -
 Baoh WSJ Chapter 12 Cover


-
-
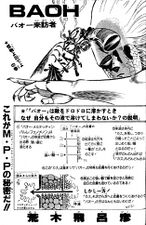
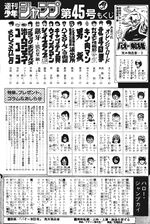 WSJ 1984 Issue #45 Content Table
 -
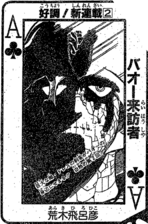
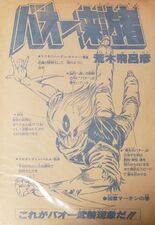
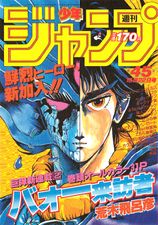
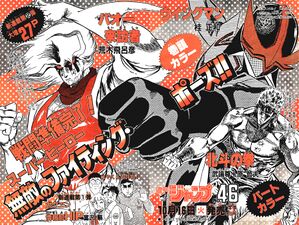 WSJ 1984 Issue #45 Next Issue Ad
 -
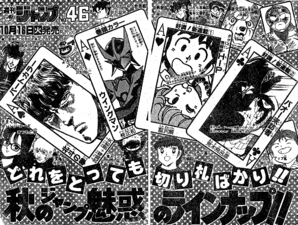 WSJ 1984 Issue #45 Next Issue Ad


.png)
-
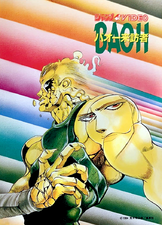
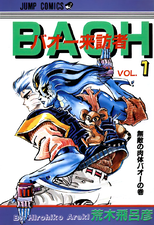 Baoh Volume 1 Cover
 -
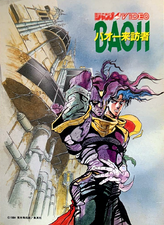
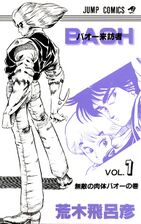 Baoh Volume 1 Book Cover
 -
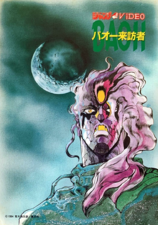
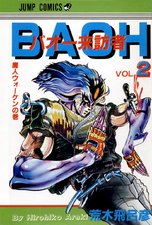 Baoh Volume 2 Cover
 -
 Baoh Volume 2 Book Cover
 -
 Baoh the Visitor Spine Illustration A
 -
Baoh the Visitor Spine Illustration B
-
 Bunkoban Cover


-
 Baoh Volume 1 (Inside Illustration)
 -
 Baoh Chapter 1 Tailpiece
 -
 Baoh Chapter 4 Tailpiece
 -
 Baoh Chapter 5 Tailpiece
 -
 Baoh Volume 2 (Inside Illustration)
 -
 Baoh Chapter 6 Tailpiece A
 -
 Baoh Chapter 7 Tailpiece
 -
 Baoh Chapter 8 Tailpiece


StoryDesign Sheets
-
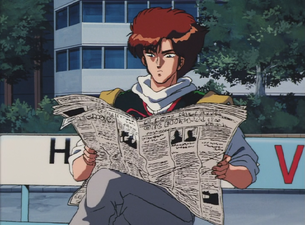 Ikuro reading a newspaper
 -
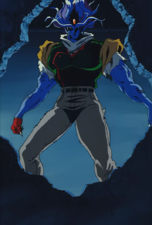
 Ikuro Semi-Transformed
 -
 Melting truck's roof
 -
 Flashback of Ikuro with his family
 -
 Firing a blast
 -
 Ikuro with blades coming from his wrists
 -
 Reskiniharden Saber Phenomenon
 -
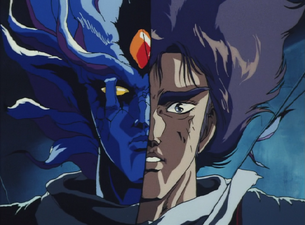 Baoh and Ikuro
 -
 Ikuro breaks through the wall to save Sumire
 -
 Ikuro worried Sumire will die
 -
 Ikuro heals Sumire
 -
 Sumire doesn't want to leave Ikuro
 -
 Ikuro has a laser cannon
 -
 Break Dark Thunder Phenomenon
 -
 Ikuro at the bottom of sea


Games
All-Star BattleAll-Star Battle R
AppearanceGameplayTauntsWin Poses
-
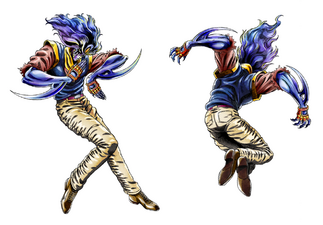
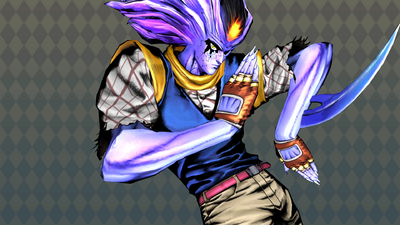
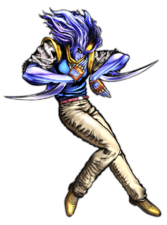
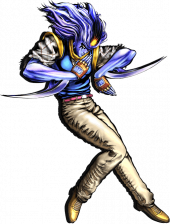 Render, All-Star Battle
 -
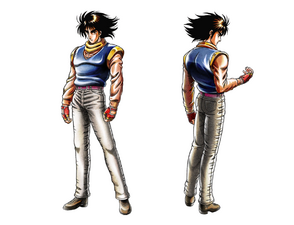 Human Concept Art
 -
 Baoh Concept Art
 -
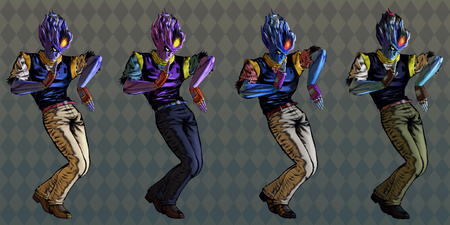 Baoh, Normal
 -
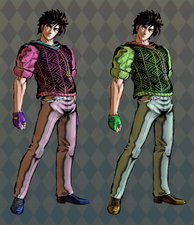
 Baoh, Costume A
 -
 Baoh, Costume B
 -
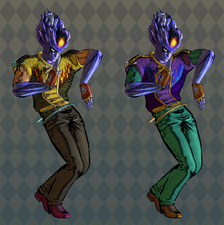
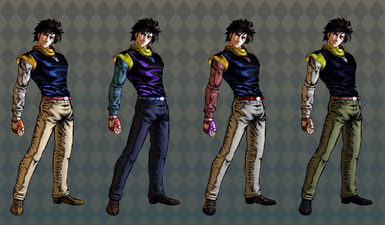 Human, Normal
 -
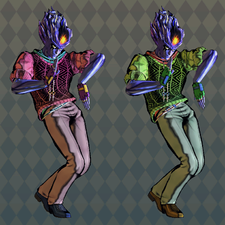
 Human, Costume A
 -
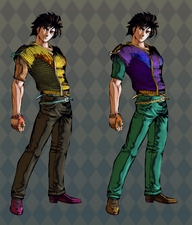 Human, Costume B


-
 Match Entrance
 -
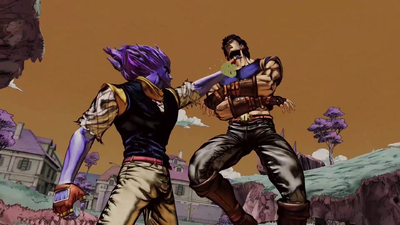
 Throw, "Get the hell out of my way!!"
 -
 "Baoh Meltedin Palm Phenomenon" Skill
 -
 "Baoh Reskiniharden Saber Phenomenon" Skill (Light Variant)
 -
 "Baoh Reskiniharden Saber Phenomenon" Skill (Medium Variant)
 -
 "Baoh Reskiniharden Saber Phenomenon" Skill (Heavy Variant)
 -
 "Saber Off!" Skill
 -
 "Shooting-Bees Stinger Phenomenon" Skill
 -
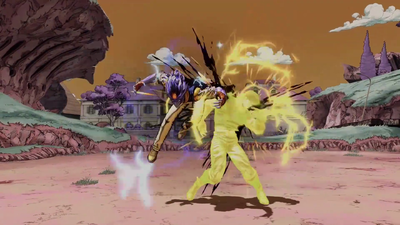
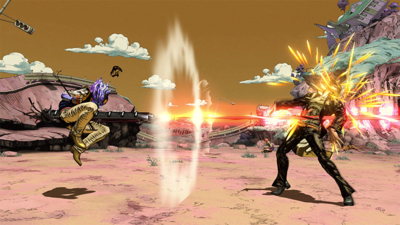
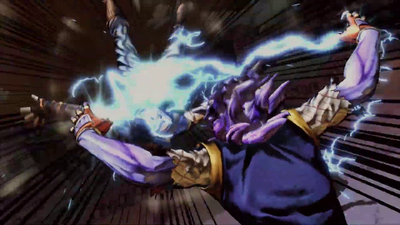
 "Baoh Break Dark Thunder Phenomenon" Skill
 -
 Heart Heat Attack, "Laser Cannon!"
 -
 Great Heat Attack, "Time to cover up that stench!"
 -
 Round Win Pose


-
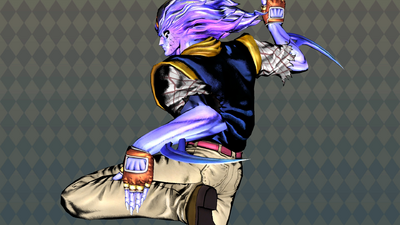
 Win Pose A
 -
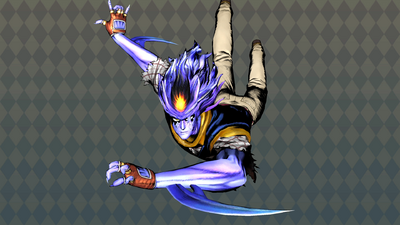
 Win Pose B
 -
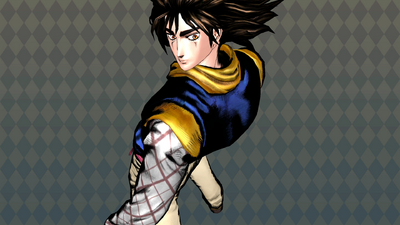
 Win Pose C
 -
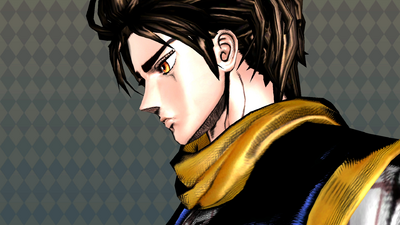
 Win Pose D
 -
 Win Pose E


AppearanceMovesetPosesMisc.
-
 Render, 'All-Star Battle R'

-
 Skill, "Baoh Break Dark Thunder Phenomenon"
 -
 Skill, "Baoh Meltedin Palm Phenomenon"
 -
 HHA, activation
 -
 HHA
HHA -
 GHA, activation
 -
 GHA
GHA -
 GHA
GHA -
 GHA
GHA -
 GHA
GHA -
 GHA, preparing final attack
 -
 GHA, final attack


-
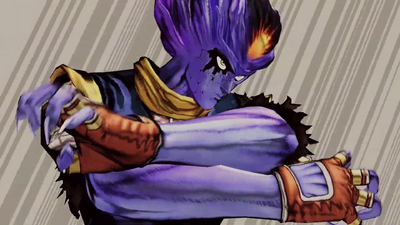
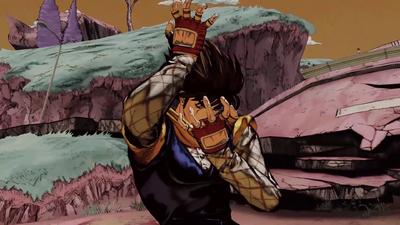 Match entrance, Ikuro
 -
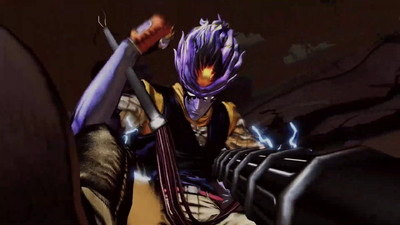
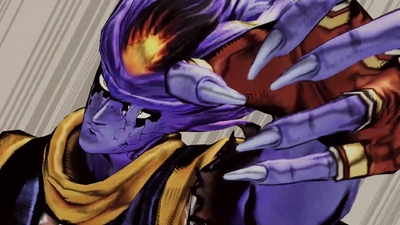
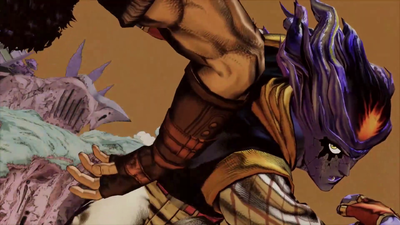
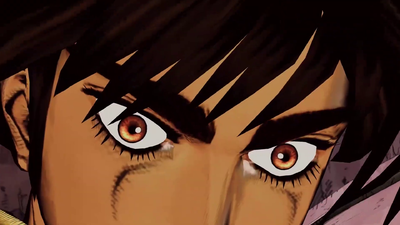 Match entrance, about to transform
 -
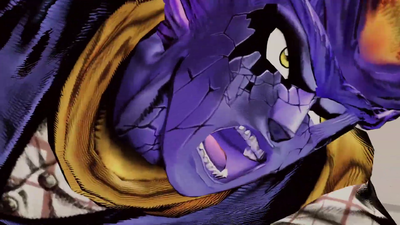
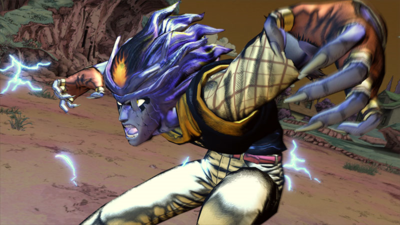
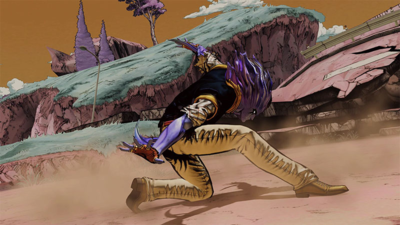 Match entrance, transformed into Baoh
 -
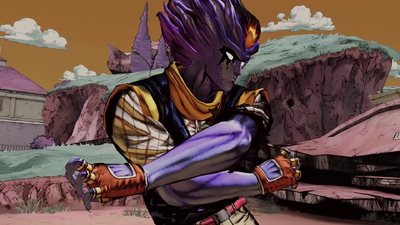 Match entrance, Baoh pose


Merchandise
Figurines
-
-
-
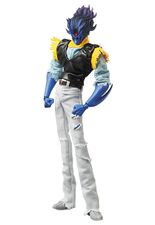
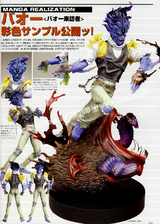 Manga Realization
 -
-
-
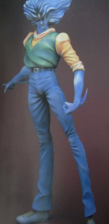
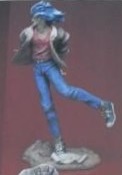
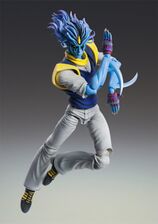
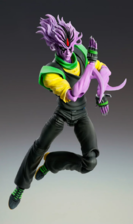 Super Action Statue Second


Clothing
-
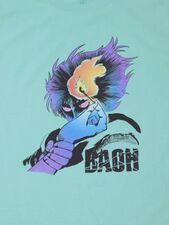
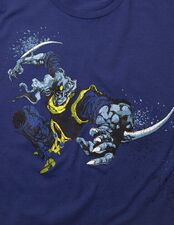 ultra BRAND Blue
February 1, 2010 -
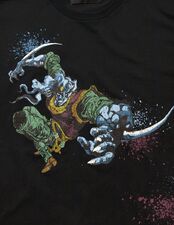 ultra BRAND Black
February 1, 2010 -
 ultra BRAND Purple
April 2010 -
 PIIT
PIIT
October 11, 2017 -
 PIIT
PIIT
October 11, 2017


Other
-
 Baoh the Visitor Postcards (VHS)
 -
 Baoh the Visitor Postcards (VHS)
 -
 Baoh the Visitor Postcards (VHS)
 -
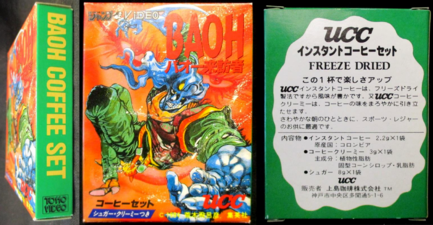 Baoh branded Instant Coffee set by UCC Ueshima Coffee Co.
 -
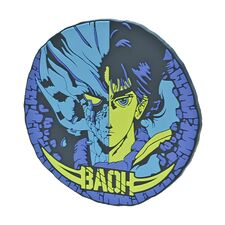 World of Hirohiko Araki Coaster Gallery
 -
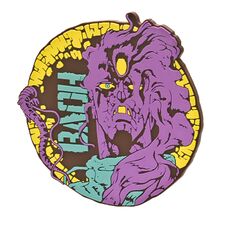 World of Hirohiko Araki Coaster Gallery


Other
-
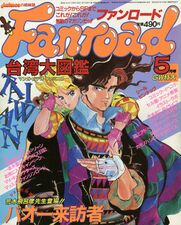 Fanroad Magazine, May Issue, 1986
 -
 Fanroad Magazine, May Issue, 1986
 -
-
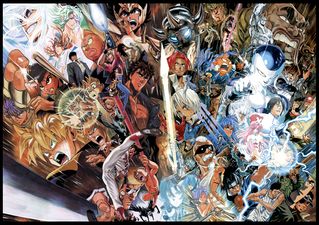 By Yusuke Murata for Weekly Shonen Jump 40th Anniversary


